To create a register, the user need to have User Registers Manager authority granted by the System Administrator. The User Registers Manager authority allows a user unrestricted access to all user registers.
When a user access the User Registers, a list of registers the user has access to will be displayed.
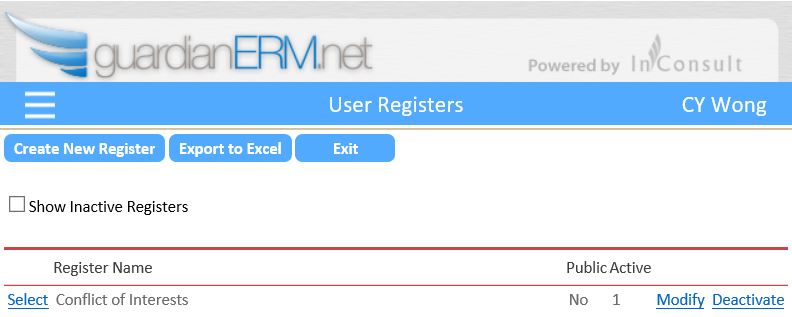
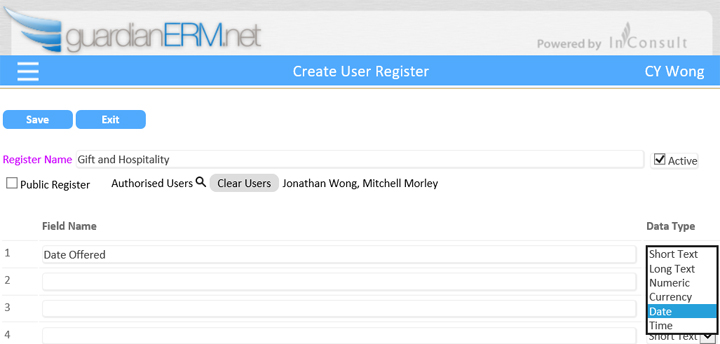
To create a new register, click the Create New Register button.
- Enter a name for the new register.
- Either make the register Public (all users have access to it) or assign users by clicking the Search User icon next to Authorised Users and select users from the list.
- Enter (up to 20) field names for the register and for each field select the data type. There is no restriction in size for text fields, the Short Text and Long Text selections only affect how the text is being displayed.
- Click Save when finished.
Once saved, a User Register Manager can modify the field names BEFORE the register is being used. Once users have entered data into the register, the field names can no longer be changed.
To modify the register, on the User Registers page click Modify corresponding to the register you wish to modify.
To deactivate a register so it will not accept any further data, click the Deactivate link. All historical data remains in the register after it is deactivated.
To access a register and enter data, click the Select link corresponding to the desired register.
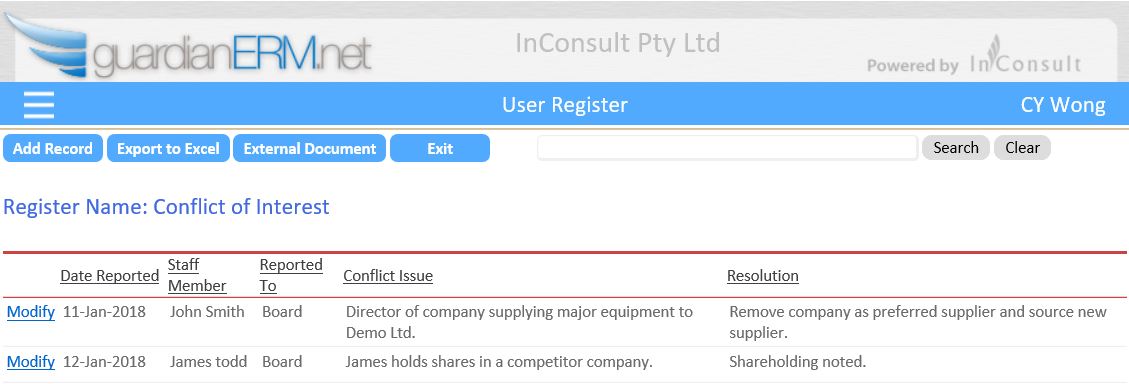
To modify a record, click Modify corresponding to the records listed.
To add a record, click the Add Record button at the top.
To attach an external document such as the organisation's policy related to the subject matter, click External Document.

Enter or modify data as required, click Save when finished.